Installing
a modem Open
the Control Panel. (Press the Start button, then choose settings and then select
the Control Panel.) -
Double-click
on the Modems icon.
3.
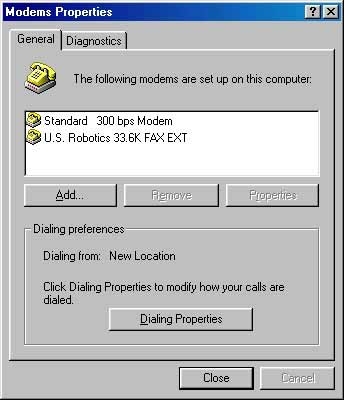
If you have a modem listed in the window labeled Modems Properties, close this
window and skip to the next section, Installing Dial-Up Networking.
Otherwise, you will be prompted with the Install New Modem wizard. Go on
to the next step. Click Next.

4. If you have an external modem, make sure that it is turned on
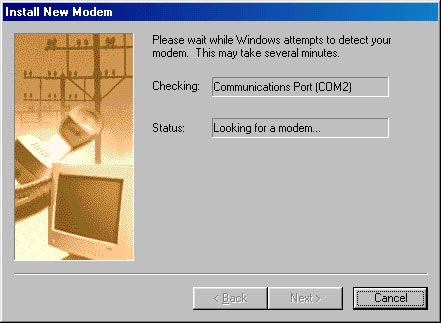
5. Windows 95/98 will attempt to detect your modem. When it has finished, verify
that it has selected the proper brand and model of your modem.
If so, click next. Otherwise, click Change.
6. Select your modem from the list. Click OK when you've finished. If you don't
find your modem on the list then Follow the next step
7. If Your Modem is not in the List then Use the software disk provided to you
with the modem. Click on Have Disk Button
8. Click on Browse and the Drive, Folder and File that contains the driver of
your modem and click ok
.
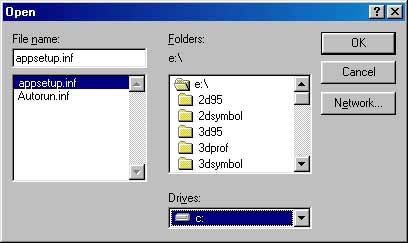
9. Click ok to confirm the path to the driver file
Installing
Dial-Up Adaptor Open
the Control Panel. (Press the Start button, then choose settings and then select
the Control Panel.) -
Click
on Network icon. -
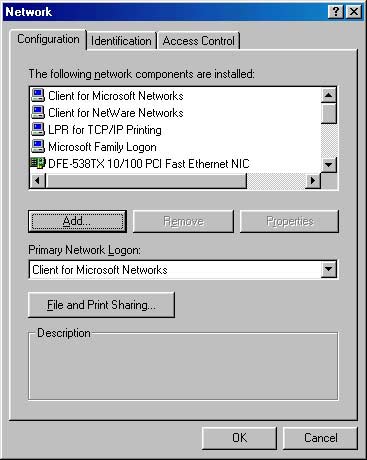
In
the networks tab Check if you have Dial-Up Adaptor close this box and go to the
next question for installation of TCP/IP or if don't have Dial-Up Networking then
follow the next step
-
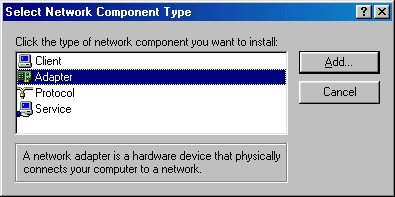
Click
on the add button then click on Adaptor and Add Select Network Adaptor window
will open.
-
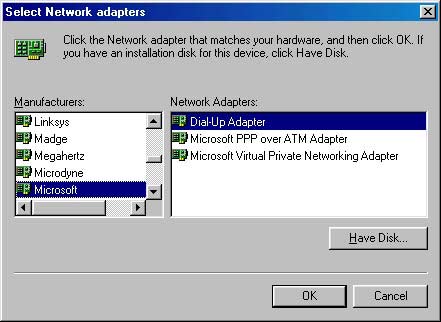
In
the select Network Adaptor window Select "Microsoft" from Manufactures
list and "Dial-Up Adaptor from Network Adapter and click ok.
-
Then
Click Yes when window ask to restart the computer. Note: Restarting the computer
is necessary.
Installing
TCP/IP Open
the Control Panel. (Press the Start button, then choose settings, then select
the Control Panel.) -
Click
on Network icon. -
In
the networks Window If you have TCP/IP already installed the close this window
and if it is not then follow the next steps -
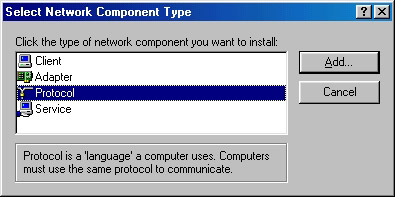
Click
on the add button and then click on Protocol and then Add and the Select Network
Protocol Window opens.
-
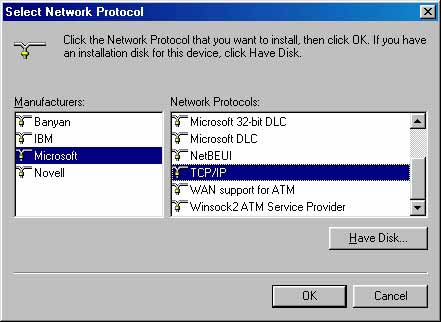
In
the Select Network Protocol Window select "Microsoft" from Manufactures
list and TCP/IP from Networks Protocols and Click ok.
-
Then
Click Yes when window ask to restart the computer.
Note: Restarting the computer
is necessary.
|