a) Welcome Screen
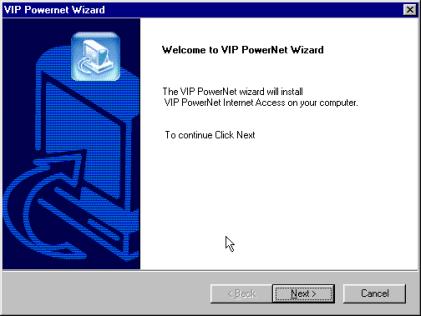
This
is the Welcome Screen that will come up the first time when you run the Wizard,
simply click on Next button to go to the next screen and follow the directions
to install VIP PowerNet on your computer. b)
Configuration and Registration beginning Screen 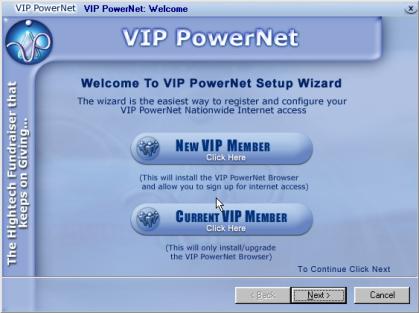
From
the Welcome Screen when clicked on Next button, it will bring it to this Configuration
and Registration Beginning screen. Simply select your member type and click on
Next button to continue Setup Wizard Process, when clicked on the Next button
it will bring you to next screen which is Member Terms and Privacy Policy screen. c)
Member Terms and Privacy Policy Screen 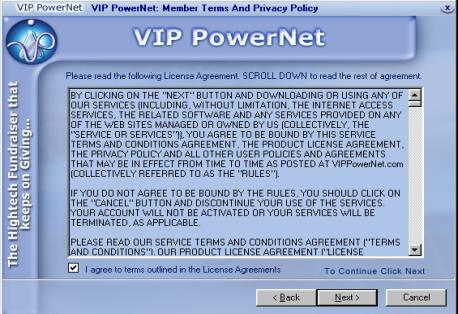
This
is the Member Terms and Privacy Policy screen Click on Next to accept the Terms
and Conditions or click on Cancel to cancel the setup. By clicking on Next it
will bring on the next screen which is Membership Plan screen. d)
Membership Plan Screen 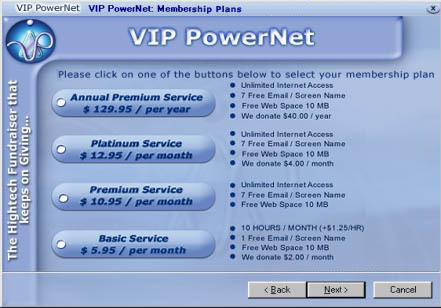
This
is the Membership Plan screen from which you can choose the plan that you want
to purchase, and click on Next to go to Billing Information Screen. e)
Billing Information Screen 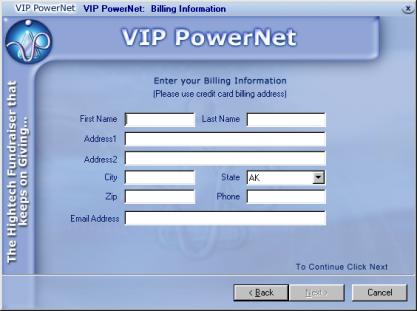
The
user will be asked to fill out the personal information such as First name, Last
name, Address, and Phone number and once the user has fill out all the information,
the Next button will be activated, and it will lead to the next screen, which
is Payment Information Screen. f)
Payment Information Screen 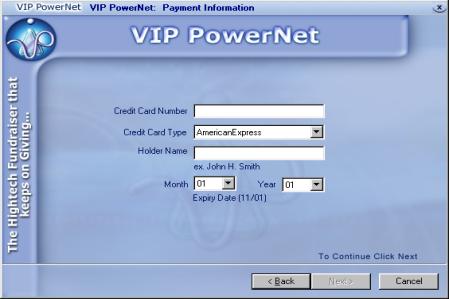
Payment
Information screen contains questions regarding Credit card information of the
user, such as Credit card number, Type, and expiration date of the credit card.
Once the information has been filled the Next button will be activated and the
user will be able to go to next screen which is Username and Password. g)
Username and Password Screen 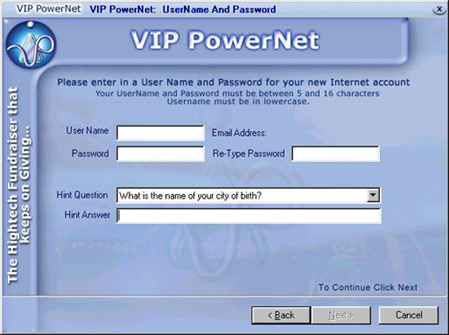
The
Username and Password screen will prompt to enter the username that you might
want to have along with the unique password. h)
Organization Id Screen Organization
ID screen will prompt to enter the organization id of the organization which you
refer, the Next button will be activated and it will allow you to go to the next
screen which is Dialing Options. 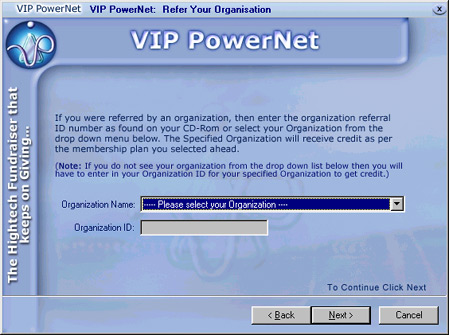
i)
Dialing Options Screen 
Dialing
Options will provide with the options about how to dial from where you are dialing
from, either office or home, and you should be able to select the telephone number
that relates to your area and Add it to the phone book list, select eh Dialing
Option and simply click on Next, and it will bring you to the Confirmation Window. j)
Confirmation Screen 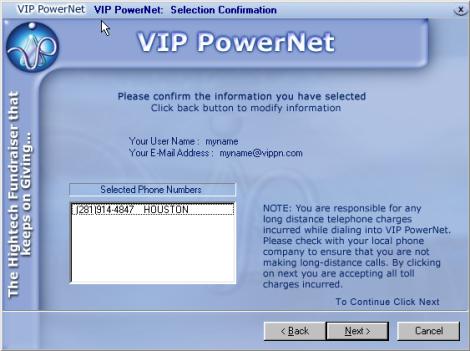
The
confirmation screen will be provided with all the information from the previous
screens that you have filled out including the User Name, E-mail address, and
selected Phone number(s). Check all the information and if they are correct then
simply click on Next to proceed for the Registration. k)
Registration Screen 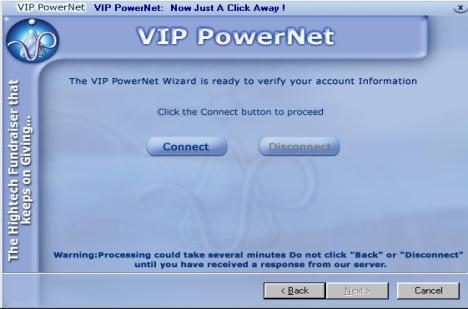
Registration
screen will dial and register your user name and password along with all the other
information entered by you. And once Registered it will show the following Finished
Congratulation Screen l)
Finished - Congratulations Screen
Image 
When
you get this screen meaning your information has been registered and you account
is activated. Click on Finish to finish the setup process. 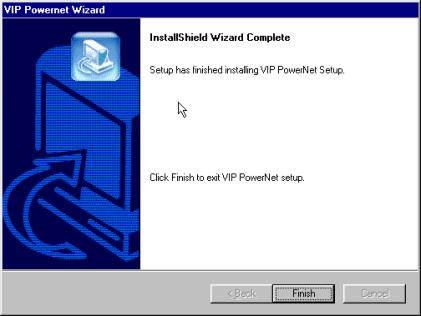
Click
on Finish again, and you are ready to use your own personal VIP PowerNet. |