Notes: DO
NOT disconnect from the Internet until the installation is complete and the program
has opened. It is strongly recommended that you exit all programs before running
the setup program. Also, you should temporarily disable virus-detection software.
- Click on the "Download"
button to start the download of VIP PowerNet setup program.
- When
you click the "Download" button, VIP PowerNet downloads the VIPPowerNet_Setup.exe
program to your computer. By default, it is downloaded to the last folder in which
you saved a file. Be sure to note this location. You can also use standard Windows
techniques to save the file somewhere else if you prefer.
- Locate
the VIP PowerNet setup file that you saved on your computer and double-click it
to begin the setup program. (Look for the file that starts with "VIPPowerNet_Setup".)
- Follow
the easy online instructions to install your VIP PowerNet browser.
Third-party
download managers (for example, Netzip, GetRight, etc
) intercept the download
process, and cause the installation to stop. To prevent this, disable third-party
download managers before running the setup file. Once
the Full VIP Browser is downloaded, follow these instructions to get registered:
|
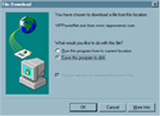 |  |  |
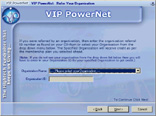
| 1.
Choose "Save the program to disk"
option and click "OK". |
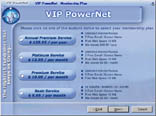
2. Select
your member type | 3.
Select from one of the following membership plan |
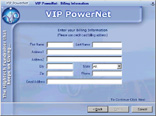 |  |  |
| 4.
Enter your billing information,
and click "Next" to continue. |
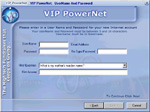
5. Enter
your credit card
information, and click "Next" |
6. Choose
a username (this will
become your email ID), and a
password. |
| |
|
|
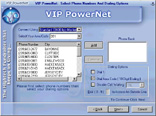
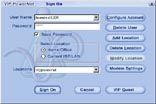
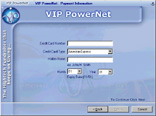
| 7.
Enter your Organization ID. | 8.
Configure your connection settings
by locating your access numbers
from
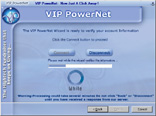
the list provided. | 9.
Once you click "Connect", the computer will connect to the internet,
verify your information, and activate
your VIP PowerNet Account. |
| |
| |
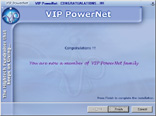
| 10.
Click on the "Finish" button to finalize the setup. |
11. Click
on the "Sign On" button to get on to the Internet. | |
|
|